Table of Contents
Hi there! I’m Kelsie, the sugar flower enthusiast behind Sugar Flowers by Kelsie Cakes, where I help cake decorators like you save time and create stunning wedding cakes with my handcrafted sugar flowers. I’m bringing back the #shortcuts series! Here’s where I’ll share tips I’ve picked up over the years to make your sugar flower-making process faster, easier, and just plain better.
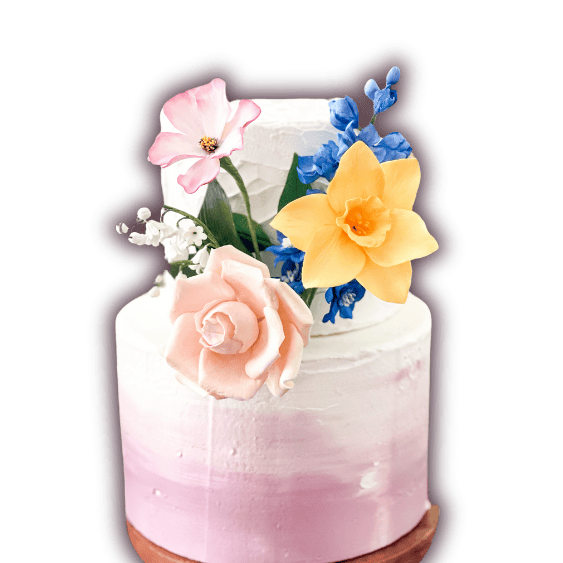
Today’s topic is about sugar flower stems! Have you seen those gorgeous cake designs with long, delicate floral stems that seem to float off the cake, effortlessly elegant and just so lifelike?
It took me forever to figure out a way to make my sugar flowers look like that!
One method I’ve seen used is to take thin plastic tubing and slip it over the floral wire stem to add thickness. You can buy this tubing from the Nicholas Lodge Legacy Collection.
Other ways I’ve tried is to take a bunch of thick gauge floral wire and tape them all together, but have you ever tried to adjust three 18-gauge floral wires all attached together?! It’s not at all delicate, and the stiffness of the stem means it’s more likely you’ll break some petals trying to manhandle it!
Finally, I tried something new!
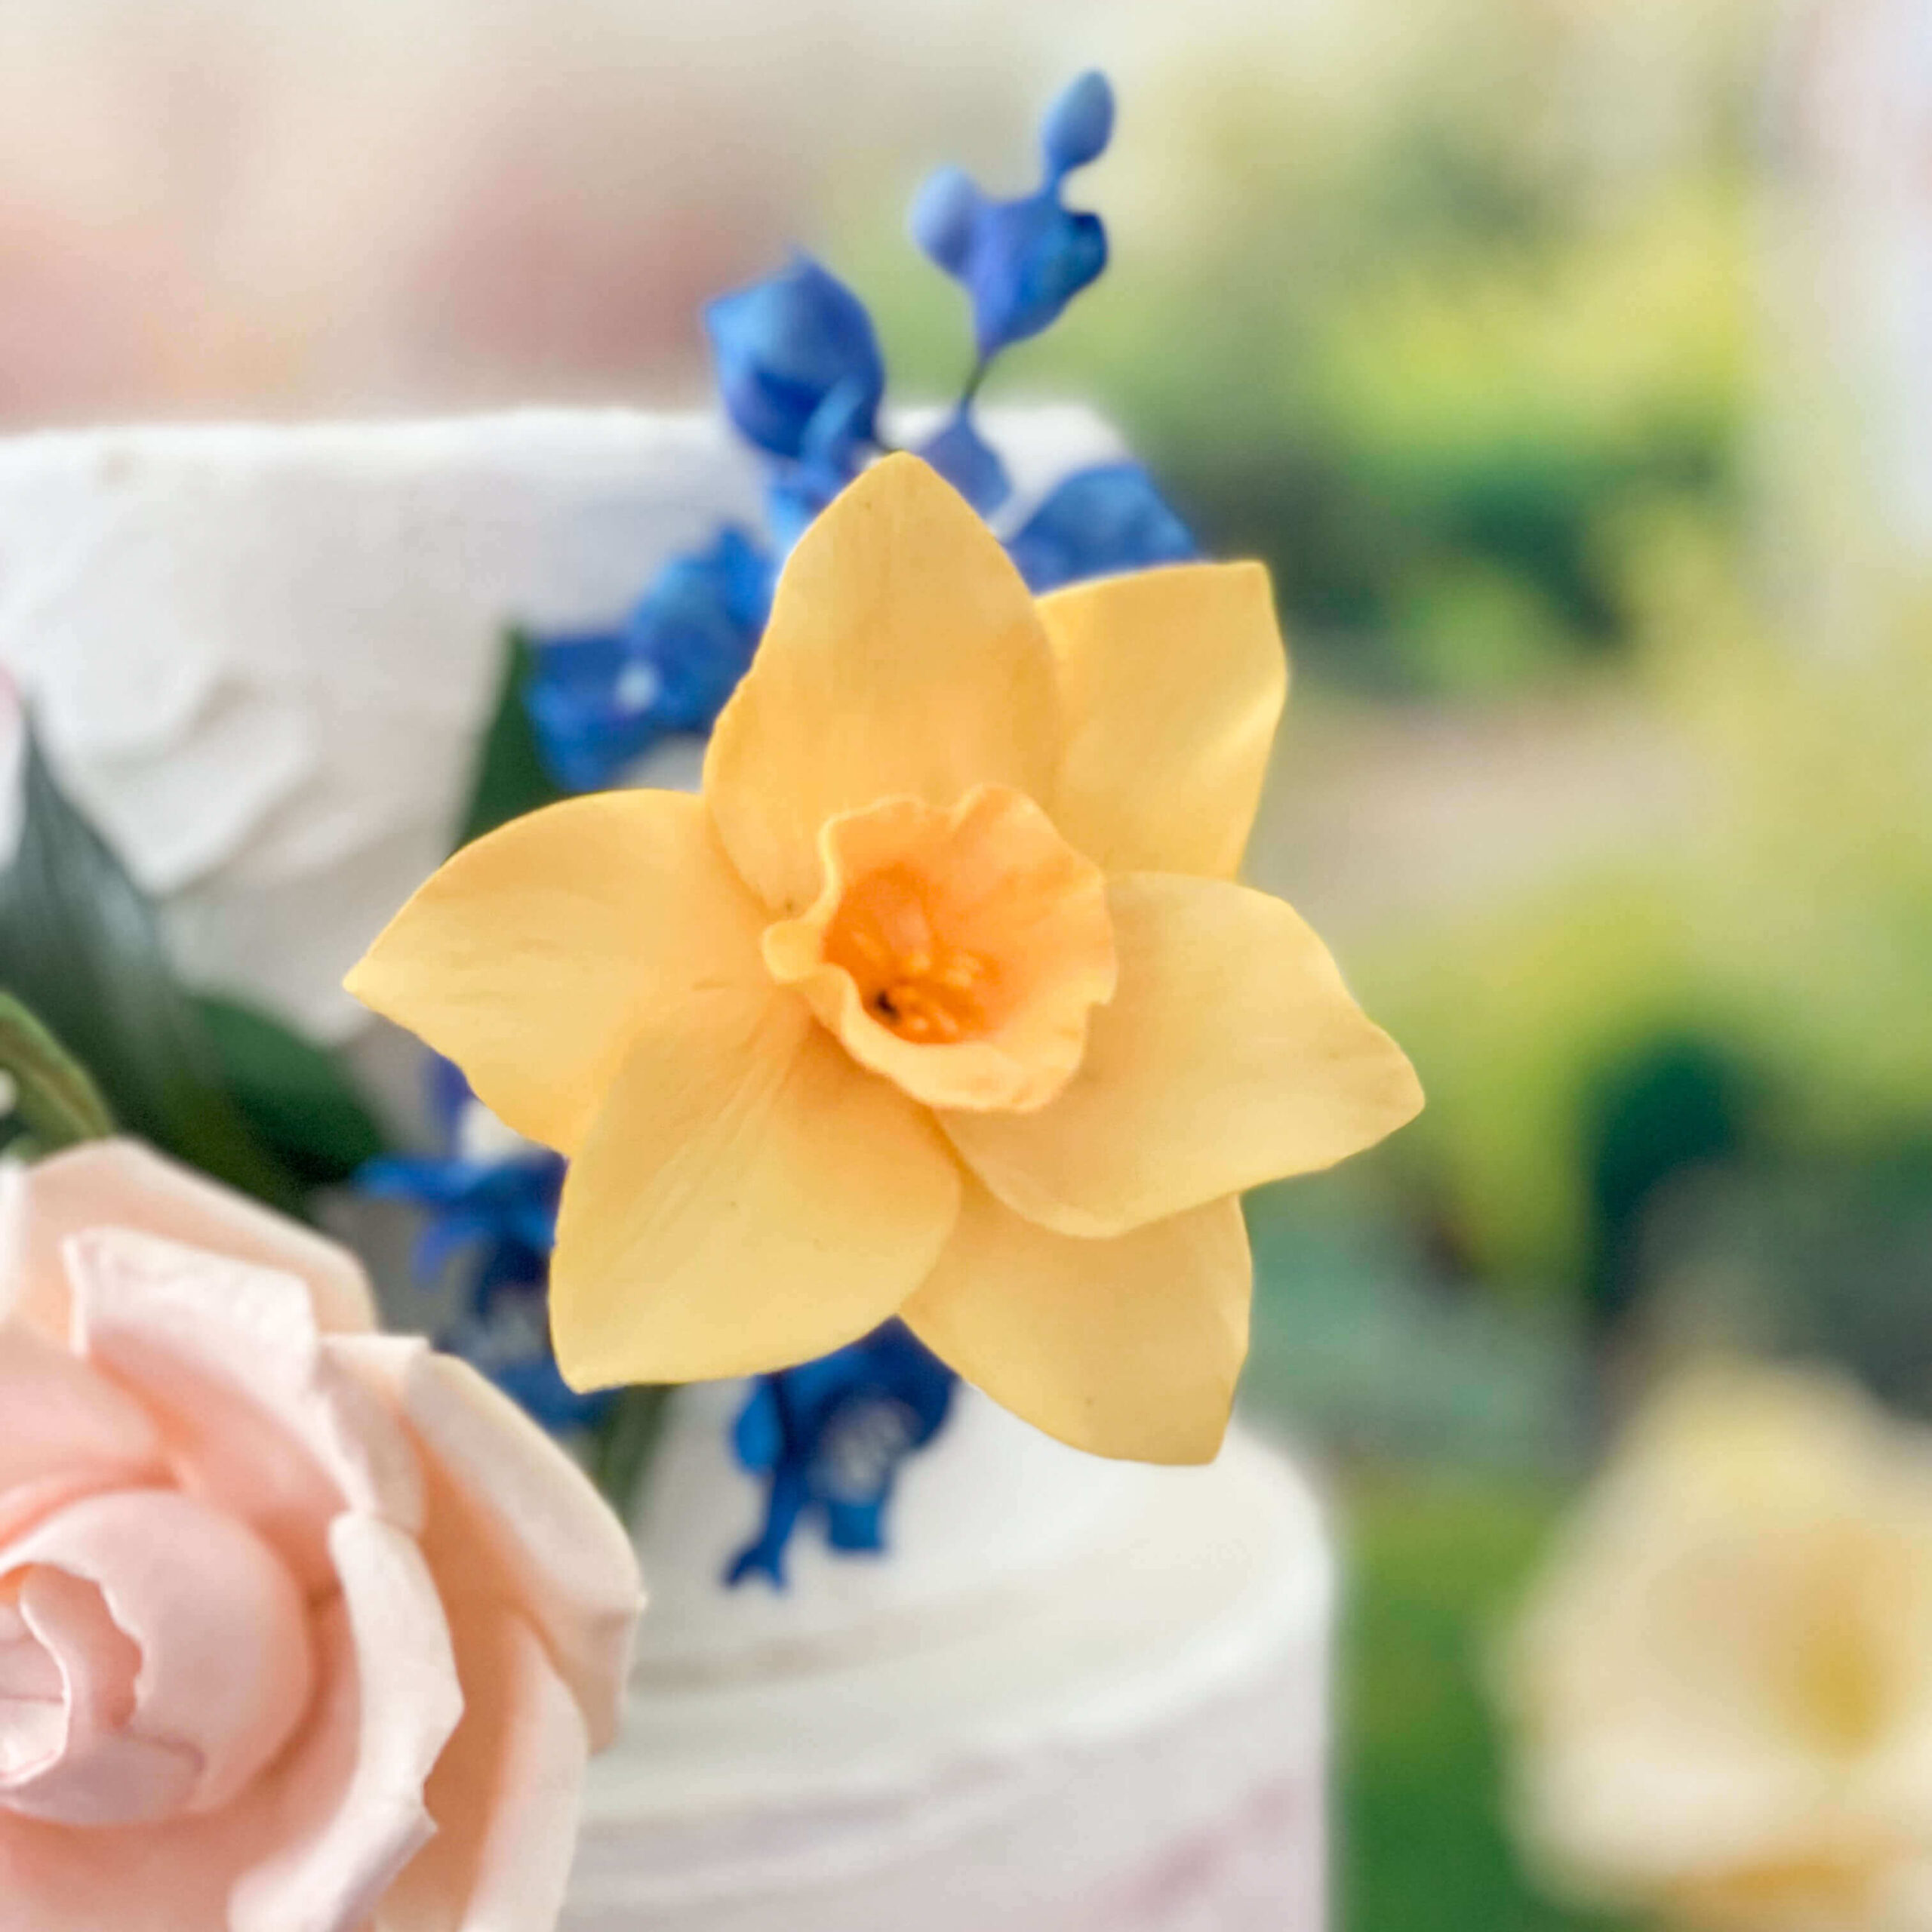
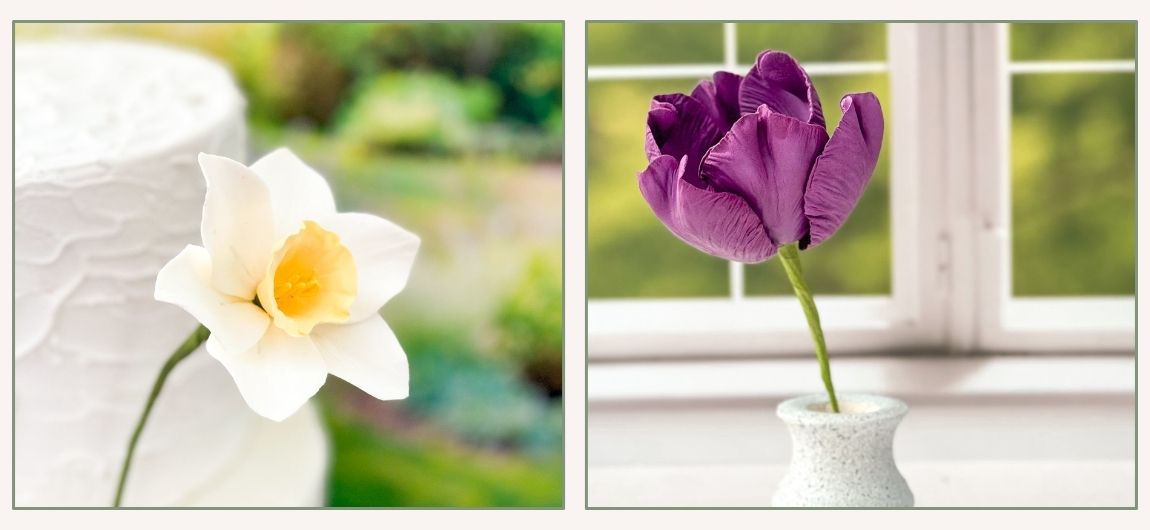
This trick is all about creating a thicker, more natural-looking stem without adding extra weight or stiffness. While I’m showing you this how-to with daffodils, this technique works just as beautifully for other flowers with thick stems—like tulips, ranunculus, lilies, and more.
Check out the full demo in my video below!
Want to read the steps instead of (or in addition to) watching the video? Here ya go!
How to Make a Thicker, More Realistic Daffodil Stem (Without Adding Weight!)
Step 1: Start with the Right Wire
Whatever wire you originally used on your flower, you’ll add an additional 20-gauge floral wire. It’s the perfect balance of strength and flexibility, giving your stem structure while still allowing it to bend naturally.
For heavier flowers (like a magnolia), you can use an 18-guage wire, or for lighter flowers (small cosmos), you could even use a 22-guage, but I wouldn’t go much smaller than that. You still want the wire to be strong!
Once you’ve attached the 20-gauge wire with floral tape, let’s move on to step two where the magic happens!
🛍️ Need wires? Grab these from Amazon! 18-gauge | 20-gauge | 22-gauge
Step 2: Wrap with Food-Safe Tape
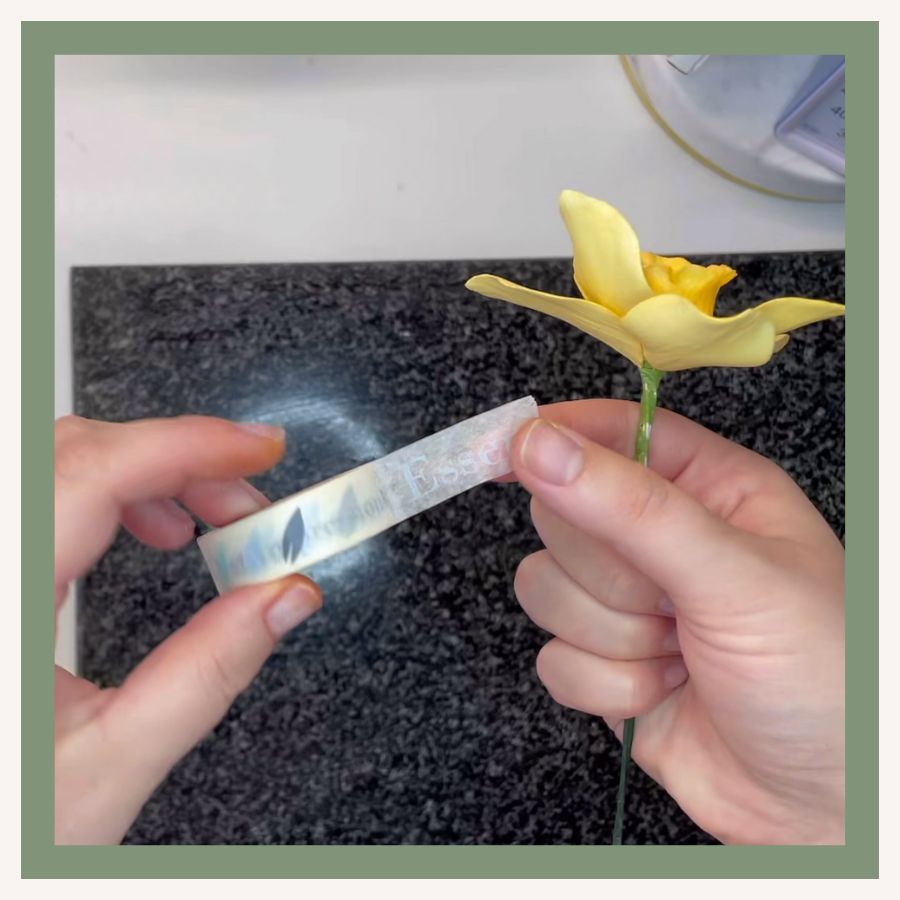
Grab some of the food-safe tape from First Impressions. Wrap the wire completely, starting at the top, and angling it down so that you can get all the way to the bottom. This gives your stem the bulk of its thickness. Don’t worry if the tape is kinda lumpy, you can smooth it out a bit in the next step, and those lumps add thickness too!
🛍️ Need the tape? Grab it on Amazon!
Step 3: Double Wrap with Floral Tape
Finally, wrap the stem again with floral tape. This will provide that life-like green color and a smoother finish. By only wrapping it in floral wire at the end, itkeeps the stem lightweight and flexible while making it look polished and professional.
🛍️ Need Floral Tape? Grab it on my website!
🎉 Bonus Tip! If you want to add color to your stem, now is the time to do that! When I add color to my floral tape stems, I like to mix confectionery glaze with petal dust and paint on the color to give it a more natural appearance! For this flower, I left the stem a bright spring green color because it matched the vibrant, whimsical design of the wedding cake.
Step 4: Add a Leaf (Optional but Lovely)
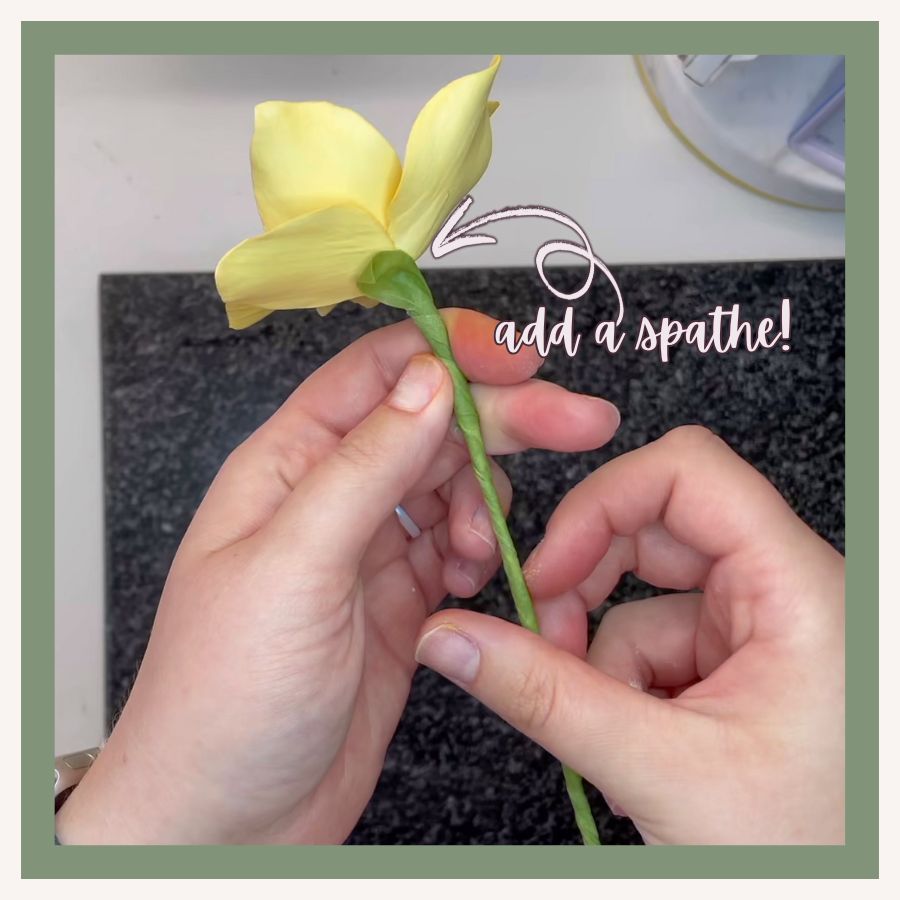
Want to add a little extra charm? Technically, this bit is called a spathe, but honestly, I call it a leaf 99% of the time because I’m not a botanist 🫣
Cut a strip of floral tape, then cut one end into a point. Hold the pointed end at the base of the flower (so it doesn’t stick prematurely) and wrap the rest of the tape down the stem. It’s a small detail that makes a big impact! Make sure to stretch the floral tape well to activate the stickiness!
This technique is quick, easy, and works for any sugar flower with a thicker stem.
More Tips from the #Shortcuts Series
If you found this helpful, check out these other blog post #Shortcuts!
And don’t forget to check out my new ebook, Gumpaste Basics, to learn even more tips!

